STEP 1: Click on the above image and copy the real image of best quality, and then print it for use.
MATERIALS REQUIRED FOR GLASS PAINTING:
- FEVICRYL GLASS COLORS 10 SHADE http://amzn.to/2FZXsMj or CAMEL GLASS COLORS SOLVENT BASED http://amzn.to/2IEj4zm
- CAMEL GLASS LINER (Golden) http://amzn.to/2G1Jzx3 or CAMEL GLASS LINER (Silver) http://amzn.to/2GTIFnC
- OHP SHEET A4 SIZE http://amzn.to/2IItk9F http://amzn.to/2IFThqz Or OHP SHEET A3 SIZE http://amzn.to/2G8Ssbr
To know more about glass color material please watch https://youtu.be/LztedwA68ZI
Also watch COLOR MIXING CHART VIDEO https://youtu.be/Gpz_-1__VOE
Glass painting can be easily framed at home, the technique is mentioned in this link https://youtu.be/1JQnMaKNXMQ
To frame this painting by professionally technique, click on link https://youtu.be/uou9T78xx9o
GLASS PAINTING FOR BEGINNERS 1 https://youtu.be/KMSXvm9GEgo
GLASS PAINTING FOR BEGINNERS 2https://youtu.be/kTeI_mzoCJs
GLASS PAINTING FOR BEGINNERS 3 https://youtu.be/FKnSiwMZabk
STEP 2: Collect all the materials require to make this glass painting.
- OHP Sheet/ Glass
- Fevicryl Glass Colors:
- Fevicryl Golden Glass Liner
- Waste cotton cloth/tissue paper
- Cotton buds, Safety pin
- Tape
- Scissor
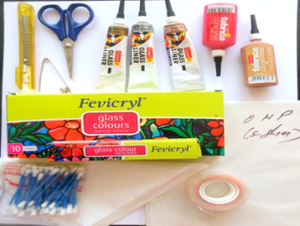
STEP 3: Place the transparent/OHP sheet/Glass on the black and white photo copy and secure all the four corners using tape.


STEP 4: Start lining the image accordingly using glass liner, from top to bottom/left to right direction, as you feel comfortable to do. After completion of lining the image, let it dry for few hours, and then remove the secured tape.
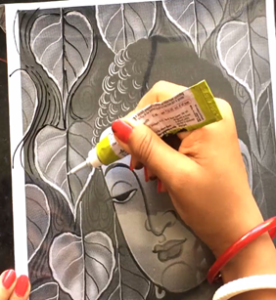
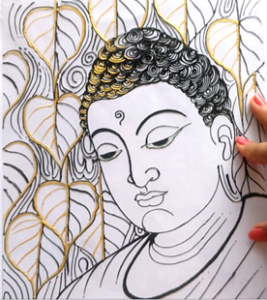
STEP 5: Placing the OHP Sheet on a plane horizontal surface and Start coloring using glass colors. Let the painting dry for minimum 12 hours without moving it from surface.
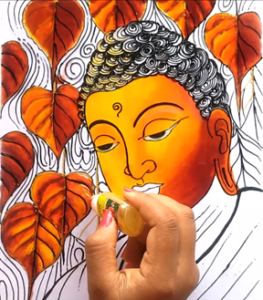
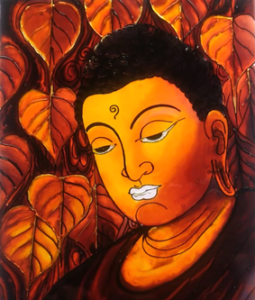
STEP 6: Frame the Glass Painting using Aluminum foil or glittering sheet to beautify the effect of glass painting.
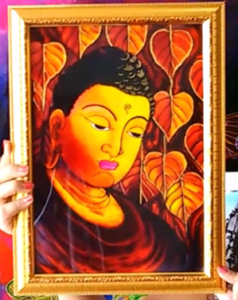
PLEASE VIEW THIS VIDEO TO SEE THIS PAINTING LIVE
